> ## Documentation Index
> Fetch the complete documentation index at: https://agency-swarm.ai/llms.txt
> Use this file to discover all available pages before exploring further.

# Additional Instructions

> Provide additional context and user information to your agents to enhance their responses.

## Overview

Additional instructions allow you to pass additional context to the agent at the time of the request. Typically, this is used to pass session or specific user data. For example, if user is already signed in on your application, and you know their email, there is no reason for the agent to as it again. So, you can simply add in additional instructions: "The current user's email is [myemail@example.com](mailto:myemail@example.com) please use this to submit all customer support tickets"

## Usage

### Widgets

To use **additional instructions** in widgets, pass them as the **third parameter** to `widget.init(...)`.

```html theme={null}
<!DOCTYPE html>
<html lang="en">
  <head>
    <meta charset="UTF-8" />
    <meta name="viewport" content="width=device-width, initial-scale=1.0" />
    <title>My Travel Planner</title>
  </head>
  <body>
    <script type="module">
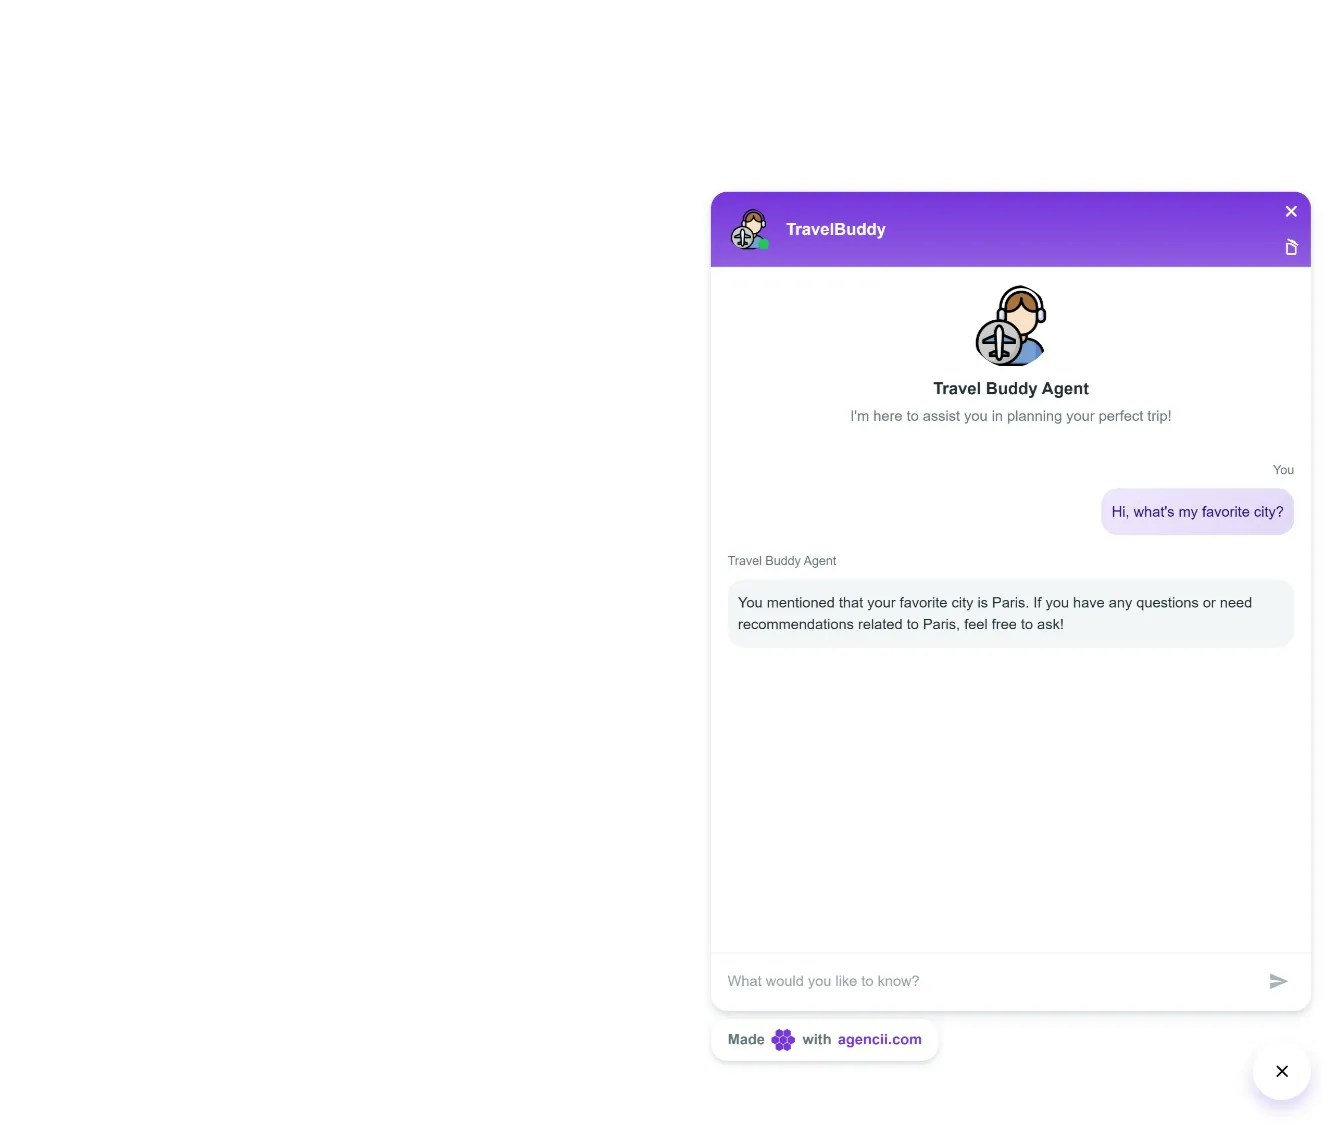
      let additionalInstructions = "User's favorite city is Paris.";

      // userId should be defined somewhere in your application
      // additionalInstructions = "The current user id is " + userId;

      let chatContainer = document.getElementById("chat-container");
      if (!chatContainer) {
        chatContainer = document.createElement("div");
        chatContainer.id = "chat-container";
        document.body.appendChild(chatContainer);
      }

      import("https://agencii-widget.web.app/widget.js")
        .then(async () => {
          if (window?.widget?.init) {
            await window.widget.init("<your-widget-id>", "#chat-container", additionalInstructions);
          } else {
            console.error("widget.init is not available after module load.");
          }
        })
        .catch((err) => {
          console.error("Failed to load widget:", err);
        });
    </script>
  </body>
</html>
```

Here's an example of the **Widget** response based on this input:
<img src="https://mintcdn.com/vrsenai/T-GvwUlkVZr46TES/images/additional-instructions-example.webp?fit=max&auto=format&n=T-GvwUlkVZr46TES&q=85&s=39b45d7210a6804e91327529e35f63c9" alt="widget-screenshot.png" width="1335" height="1125" data-path="images/additional-instructions-example.webp" />

### CustomGPTs

To use **additional instruction with CustomGPTs**, add a **script tag** to handle your instructions or dynamic data to the **Custom GPT**. Here's an example of how you can extend the above HTML code with a script:

```html theme={null}
<!DOCTYPE html>
<html lang="en">
  <head>
    <meta charset="UTF-8" />
    <meta name="viewport" content="width=device-width, initial-scale=1.0" />
    <title>My Travel Planner</title>
  </head>
  <body>
    <iframe
      src="https://agencii.ai/custom-gpt/<your-custom-gpt-id>"
      width="800"
      height="800"
      id="custom-gpt-iframe"
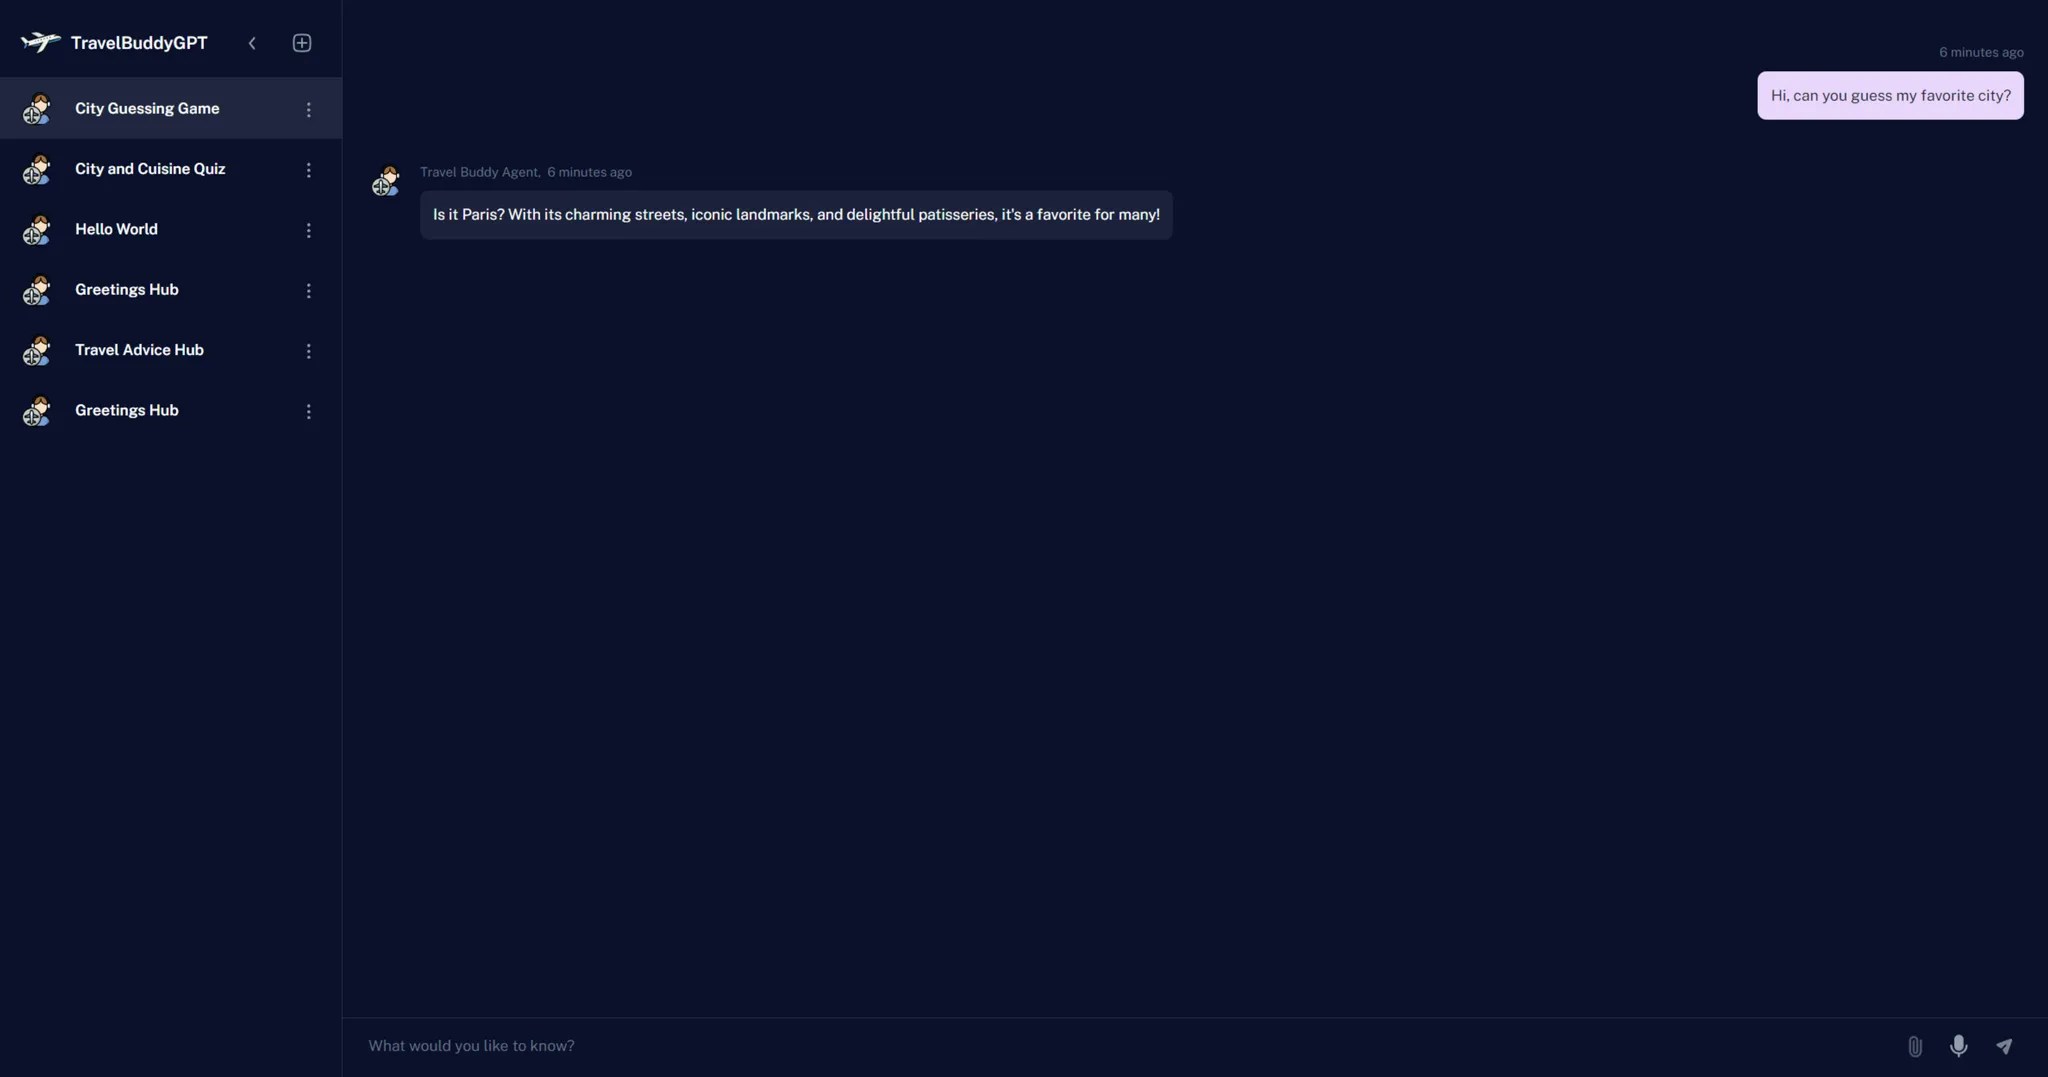
      data-additional-instructions="User wants to visit Paris."
    ></iframe>
    <script>
      const iframe = document.getElementById("custom-gpt-iframe");

      window.addEventListener("message", (event) => {
        if (event.data === "iframe-ready" && event.origin === "https://agencii.ai") {
          // Get additional instructions from the HTML data attribute or use your own logic to set it
          let additionalInstructions = iframe.getAttribute("data-additional-instructions") || "";

          // userEmail should be defined somewhere in your application
          // additionalInstructions += "Current user's email is " + userEmail

          // Send the additional instructions to the iframe
          iframe.contentWindow.postMessage(
            {
              type: "additionalInstructions",
              value: additionalInstructions,
            },
            "https://agencii.ai"
          );
        }
      });
    </script>
  </body>
</html>
```

Here's an example of the **Custom GPT's** response based on this input:
<img src="https://mintcdn.com/vrsenai/T-GvwUlkVZr46TES/images/custom-gpt-screenshot.webp?fit=max&auto=format&n=T-GvwUlkVZr46TES&q=85&s=a6d051984431bbf2dcaf3777db427950" alt="custom-gpt-screenshot.png" width="2048" height="1077" data-path="images/custom-gpt-screenshot.webp" />

### API

For web api, simply use `additionalInstructions` in the `get_response` POST endpoint. For more details, see: [API reference](/platform/integrations/api/get-response)
